


Now that the white basecoat has had a chance to dry, I'm ready to apply a mask to the model. I've tried various different types of masks over the years, but now I just use blue painter's tape. Its cheap, easy to work with, easy to remove, and the low adhesion means its unlikely to remove paint from the model.
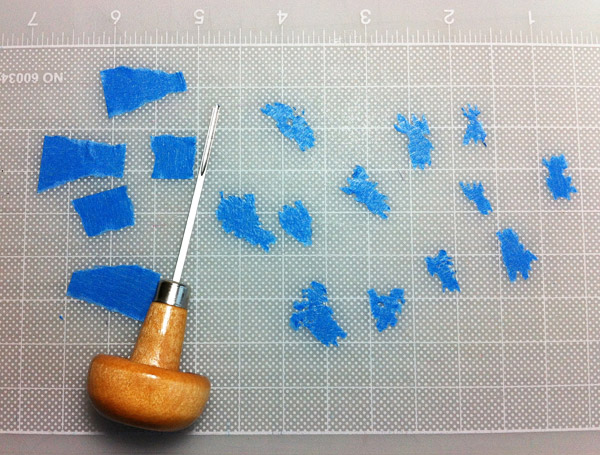
If this were a solid colored horse, I'd only need to mask off the markings on his face and feet. But since he's going to be a flashy sorrel overo, he's going to need a lot more masking. Typically I just tear the tape into small pieces and apply it wherever needed. This time I decided to get creative and shred the edges of the tape first. I stick the tape to a cutting mat, then use a micro carving tool to gouge out the edges of the tape. This is pretty hard on the cutting mat, so don't use a mat that you want to keep pristine...
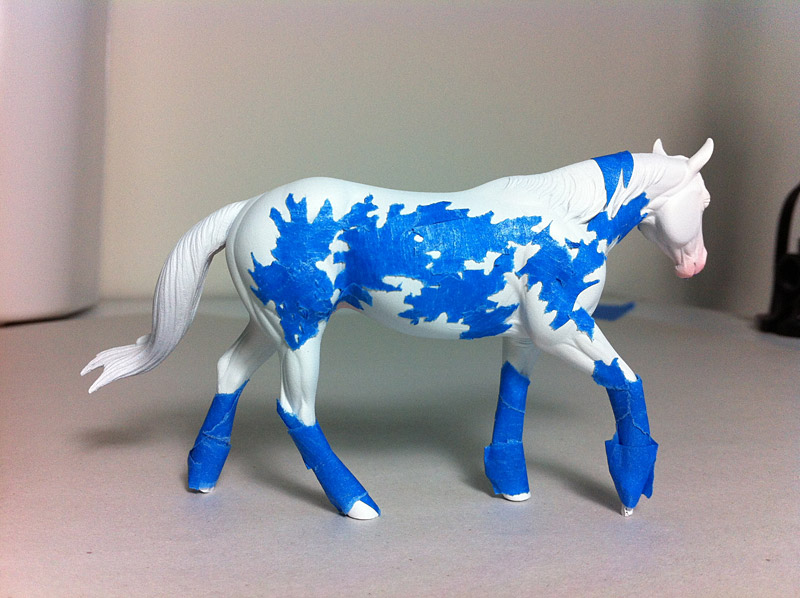
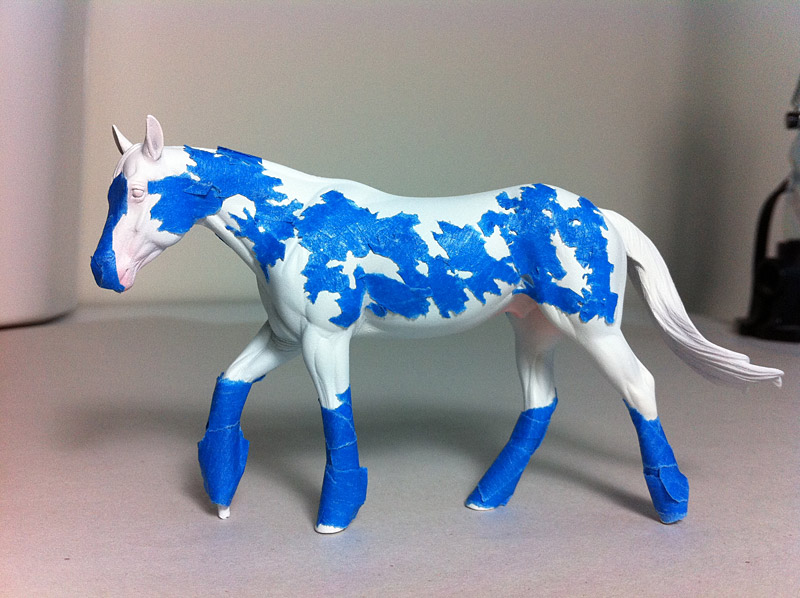
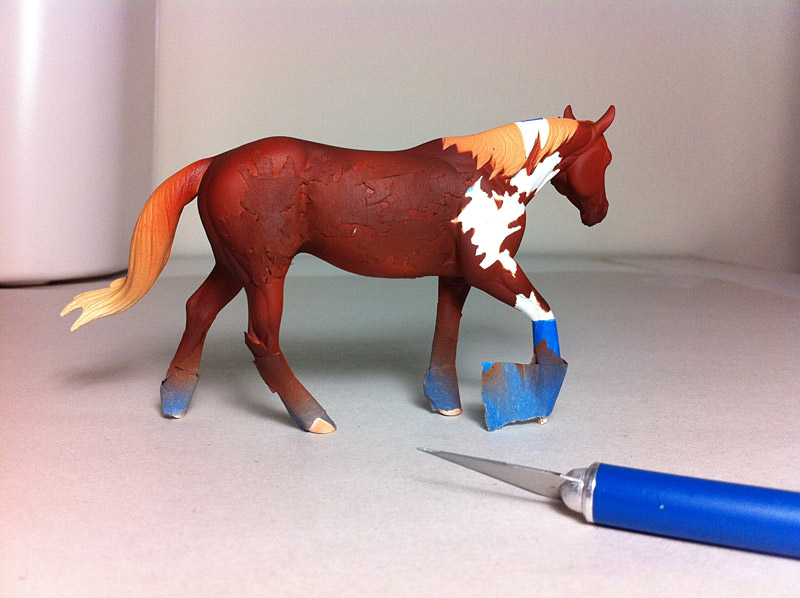
Now I just stick all the frayed bits onto the horse. It's fine to overlap them. It also doesn't have to be perfect, since I'll be going back and hand-detailing the painted model later. Here he is with his blue duds:
Once all the mask is on, I can resume painting. Airbrushing is usually done light-to-dark; you start with the lighter colors and work to darker. This fellow is going to be a sorrel (chestnut) overo, so I'm going to go with about four basic colors: buttery cream, light brown, reddish brown, and a darker brown. I'd also like for his mane and tail to be more of a flaxen color, so I may add more mask after the cream coat.
I start with a buttery yellow (unbleached titanium + raw siena), left. I had made notes about this color the last time I painted a horse, because it's such a yummy soft yellow shade - perfect as a basecoat for sorrels, or maybe even for a buckskin (although I'd probably want less yellow for buckskin).
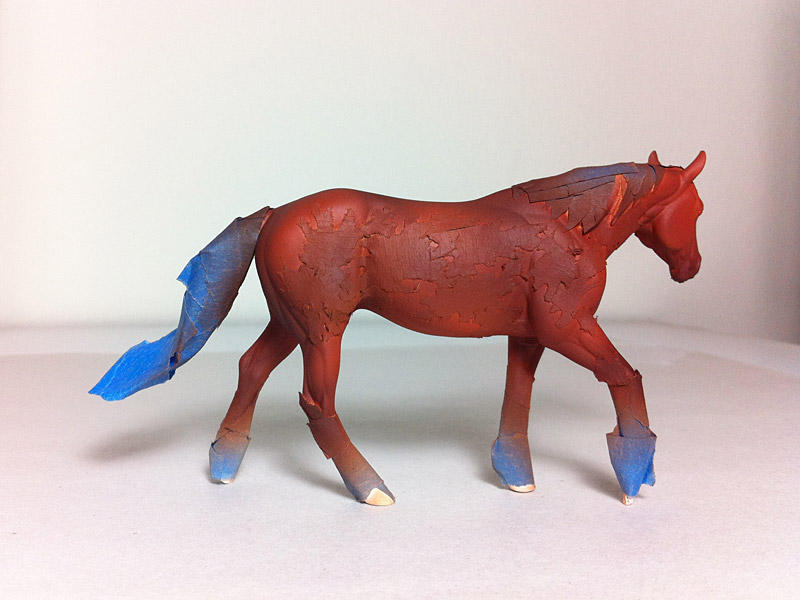
The second color is a slightly more orangey mix (unbleached titanium + raw siena + burnt siena), right:

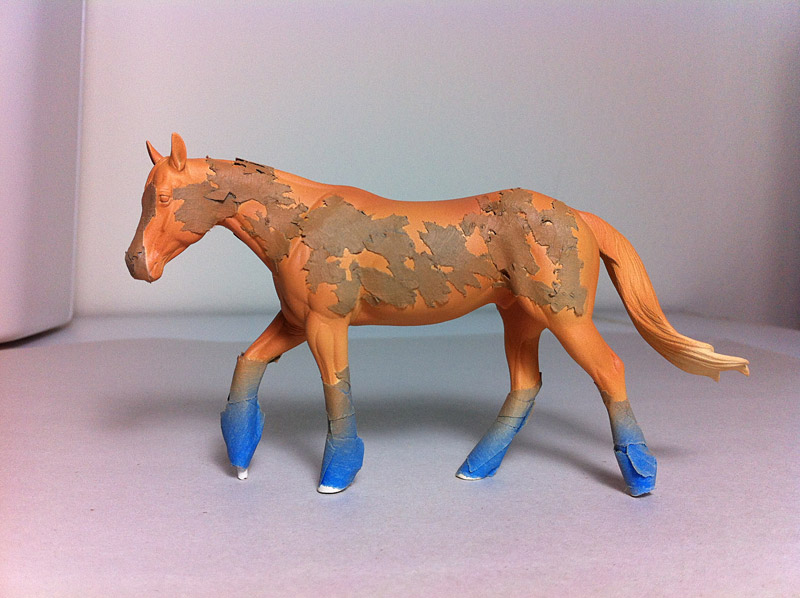
The light orange is going to become the flaxen color for the mane and tail, so now I cut more strips of blue tape and put over his mane.
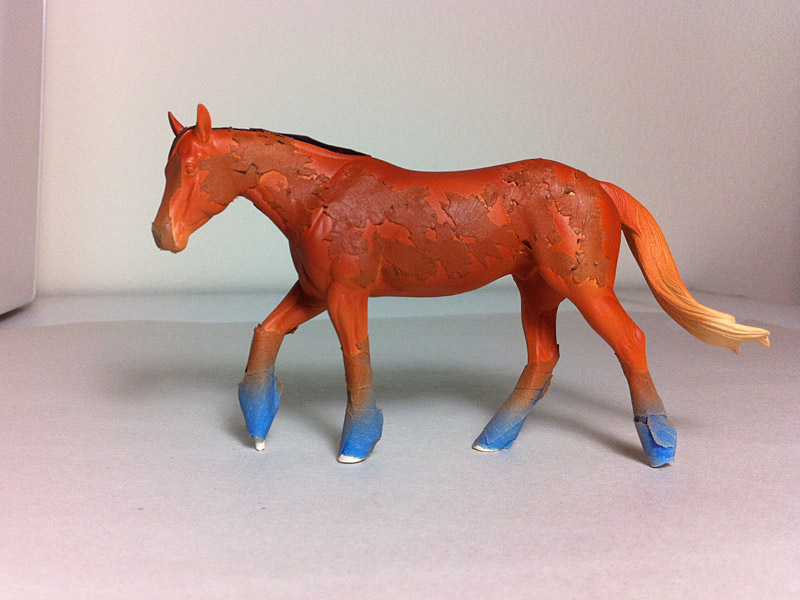
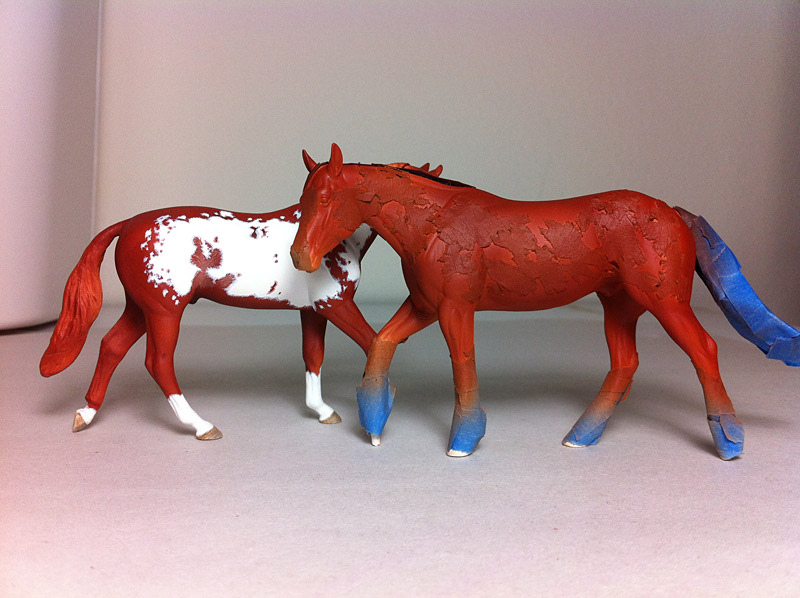
Third is a darker red color (raw siena + burnt siena). I over-thinned this one, though, and it's more translucent than I wanted... not quite red enough. Here he is in comparison to my Hidalgo portrait model, which is more red:

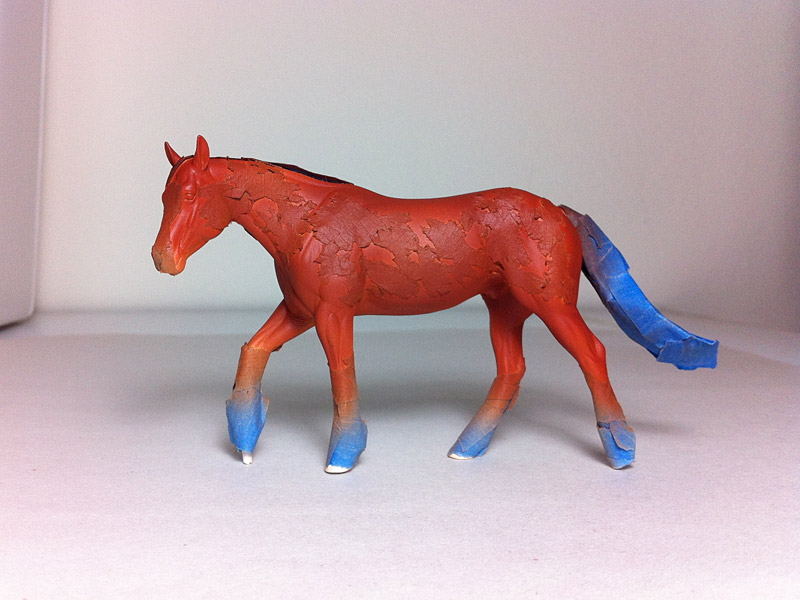
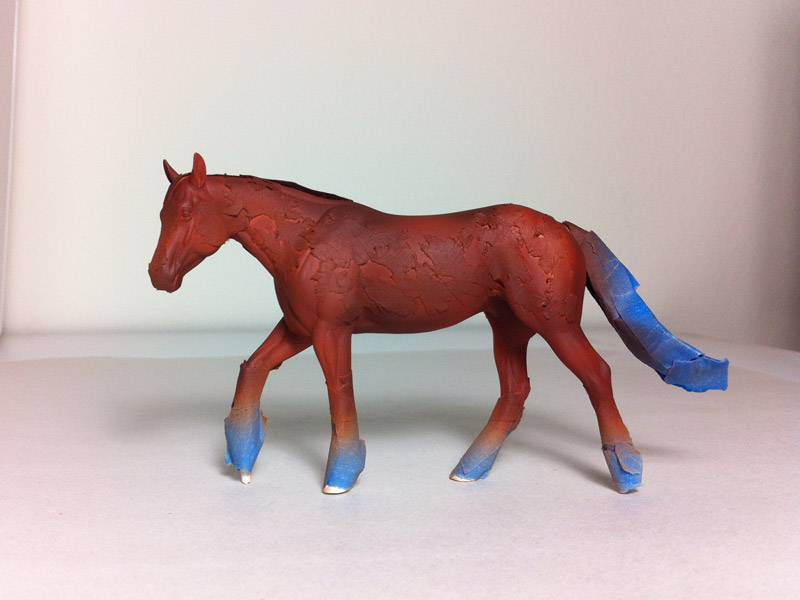
Now I do a pure chestnut coat with burnt siena only. I also don't thin it down as much, so the paint will be more opaque. Notice I also added tape around his tail; I want the tail to stay a bit lighter than the body color, so it must be masked:
Finally I do some shading with a brown earth color, which is a bit darker brown than the burnt siena.
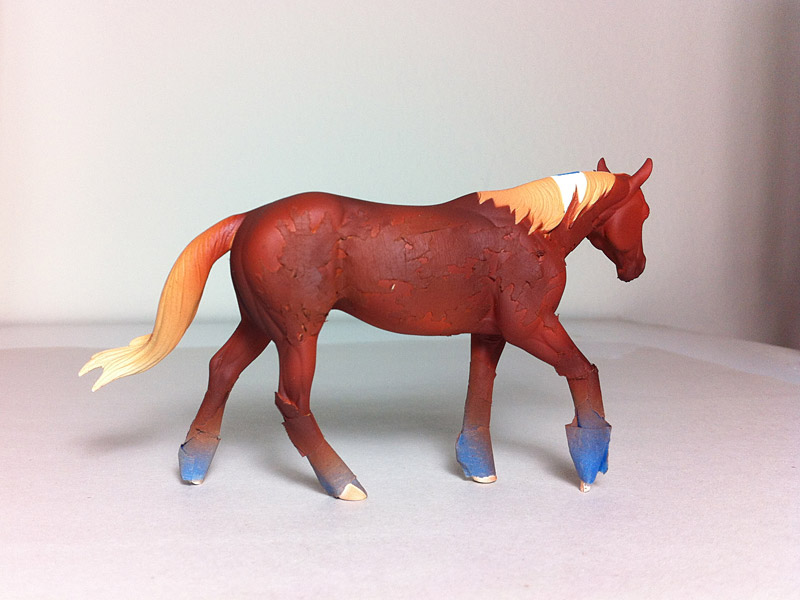
And that should be it for the airbrushing! I remove the mane and tail masking to see if I need to touch up anything here. There are some rough edges around the mane where the mask was not precise, but I know I can touch these up later.
Next I remove the rest of the masking tape. It's easiest to use the tip of an exacto knife, being careful to get the tip under the tape but not scratch the horse.
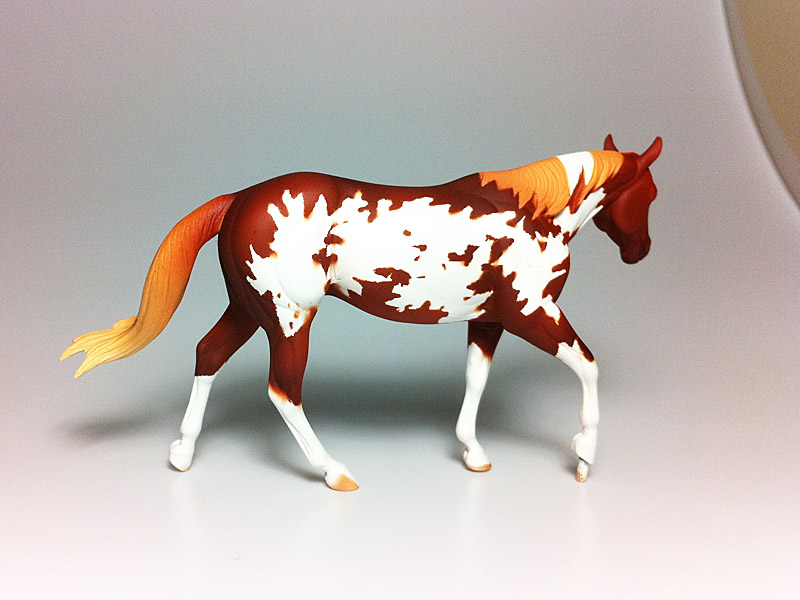
And here he is, unmasked! Obviously he's nowhere near finished yet. Next comes lots of handpainted details.